I have a subscription which ends soon, which forces me to migrate my resources to a new subscription. I have used the DevTestLab service to create my System Center test environment, which is a nice feature, but also has some limitations as some resources are locked. I tried to use the Azure PowerShell commands to migrate the resources or tried it directly in the console, but there were always parts which could not be migrated so the Validation failed. The other option I found is directly copy the blob storage. Here are two blog posts about it:
http://gauravmantri.com/2012/07/04/how-to-move-windows-azure-virtual-machines-from-one-subscription-to-another/
https://blogs.msdn.microsoft.com/laurelle/2015/10/01/how-to-move-azure-vm-between-subscriptions/
Both reference the old portal. That cannot be used for virtual machines which are part of a DevTestLab as they are AzureRM resources, which can only be managed in the new Azure Portal.
Both solutions need a tool to browse and copy the blob storage. I have also used the free CloudBerry Explorer for Azure Blob Storage. It reminded me a bit of the old File Commander ;-).
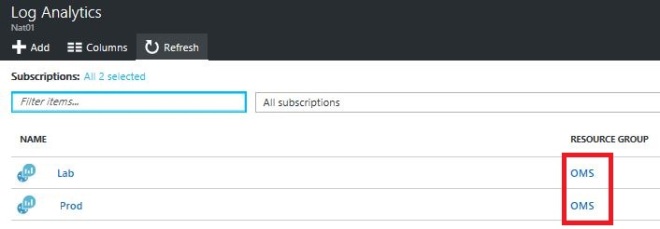
So to move my virtual machines, I had to find out, which storage account was used in my old DevTestLab. Open up your DevTestLab and click on the resource group name in the overview.

You will see all resources which belong to this resource group:

I have two storage accounts, by selecting one-by-one, I find out which one holds the virtual machines.

Click on Blobs and then on Vhds.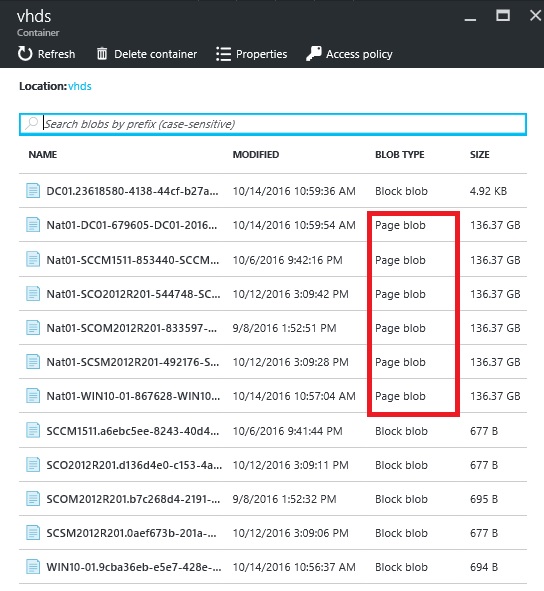
The entries with the Page blob type are the vhds, the Block blob type are the VM Status files.
Now I know the Storage account. Then I created a new DevTestLab in my new subscription and checked which resources are there. There were two storage accounts, both with blob storage assigned, but without entries. Okay. I do not have the details which one you should select, but I selected the first one in the list. Now I have the names of both storage accounts.
To reference these accounts for the copy job, I need one more thing: the Access key. To find that open up the Storage accounts service in your Azure Portal.

Select your storage account, click on Access keys and copy the first key.
You will need to do that for both storage accounts when you create your connection in CloudBerry Explorer.
So open up CloudBerry Explorer and create the connection to both of your storage accounts (old subscription, new subscription).

Enter a Display name, the name of the Storage account and the shared key (which you copied before).
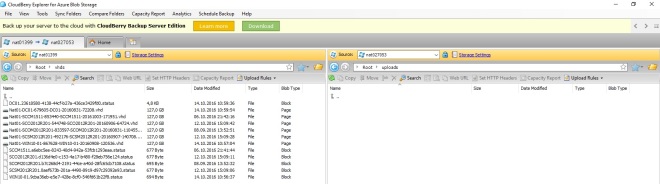
When you have entered both Storage accounts, then you can browse them. On the old storage account browse to Root\Vhds and on the new one to Root\Uploads.
Then select the vhd files one by one and click copy. A queued copy job will start.

The job will close as soon as it is finished.
Now you can go back to the Azure Portal and to your new DevTestLab. The next step is to create Custom Images and the last step is to create the VMs with it.
- Create Custom Images
In you DevTestLab Service, select your lab. Then select Configuration, Custom Images:

Click Add.

Enter a Name for the Image, select the correct VHD and select the OS configuration.
Click OK and the custom image gets created. Wait until this is finished successful. - Create new VMs
Now go back to My Virtual Machines in your new DevTestLab.
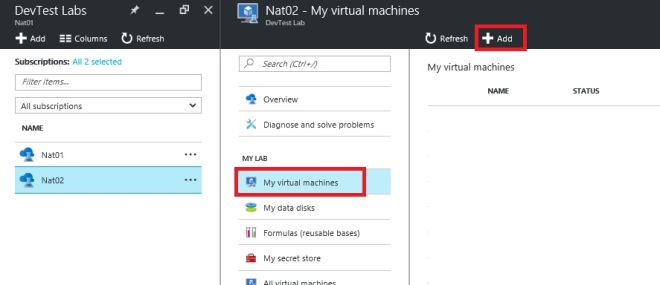
Click Add. And you will see your Custom Images at the top of the base selection.
You can go on with your VM creation as you are used to within your first DevTestLab. If you create a Domain Controller, as I still have it (yes, I should move to Azure AD, will do that later ;-)), then remember to give it a static IP and enter that Ip in the DNS Server configuration of your Azure Network – not in the VM!
When you have verified that the VMs are running in your new DevTestLab, then you can delete your old one and you are done.
Surely you can also use this process to move any other VM which is not part of a DevTestLab.
That is it! Have fun with it :-).